Showing posts with label Winter. Show all posts

Friday, March 04, 2016

Dazed and Infused: Herb-Infused Sugar and Salt

I sadly don't have an indoor rosemary plant, so during the Winter months I need to buy fresh rosemary if I want to use it. But the other week, after doing just that, I found myself with a surfeit of the fragrant stuff. I wanted to save it, store it, make it last forever!!! And then I had a scathingly brilliant idea: just like that vanilla sugar I keep going on about, I would make its savory counterpart—ROSEMARY INFUSED SALT. I was feeling exceptionally unique and amazing for quite a few seconds, but a quick Internet search revealed that it had been done, pinned, tweeted, posted, and pretty much plastered all over the place.

My bubble was somewhat deflated but not altogether burst, so I carried on and mixed my ingredients, using the proportions that seemed to be most common on the web. And while I was at it, I thought back to that vanilla sugar, and made a batch of rosemary sugar just for fun:

rosemary infused sugar and salt ingredients

Things started smelling like a Christmas tree farm after breaking apart all those rosemary sprigs, but I was pleased to be making the most of my purchase. I've been dutifully shaking the jars vigorously each day since then, to ensure the contents don't clump and to keep the rosemary evenly distributed. I definitely plan to start using them soon (in place of regular salt and sugar) wherever a touch of rosemary would go nicely!


Notes: I used roughly 1/4 cup rosemary sprigs to 2 cups kosher salt, and about 2 Tablespoons rosemary sprigs to 1 cup granulated sugar. I used very clean Mason jars with a larger capacity than required to ensure I had enough room to shake them thoroughly. I store the salt and sugar in a cool dark cabinet, right alongside the vanilla sugar.


>o<

Sunday, January 24, 2016

Winter White: Vanilla-Pear Cake

I have only just recently been introduced to Dorie Greenspan's amazing book, Around My French Table, and it's a such a treasure I can't believe I've managed this long without it. The writing is as enjoyable as the food, and she provides a story for every recipe, incorporating her experiences in France along with helpful tips and variations the reader might like to try. She also confirms what many of us already know intuitively—that good home cooks in France, like good home cooks around the world, use what's available and in season, combined with things they already have on hand, to create simple yet elegant dishes suitable for any occasion.

One such recipe is an apple cake a friend of hers makes, which Ms. Greenspan had to reverse-engineer since the friend does not use a recipe to make it. As a recovering not-writing-recipes-downer myself, I had to try it! But as wonderful as apples are, I associate them with Fall, and wanted something more wintry to match the season. The perfect solution was pears, their sweet perfume mixed with the heady aroma of vanilla, and a bit of cardamom and tangerine zest for balance. A little more tinkering with the mixing method, and I had a delicate, moist confection that will make any Winter day feel just that much warmer:

Vanilla-Pear Cake Slice


Vanilla-Pear Cake

Ingredients:
3/4 cup all-purpose flour
3/4 teaspoon baking powder
1/4 teaspoon ground cardamom
1/2 teaspoon tangerine zest
1/2 cup butter, softened
3/4 cup vanilla sugar
2 large eggs, room temperature
3 Tablespoons white rum
1/2 teaspoon vanilla extract
4 medium pears, ripe but still firm

Butter an 8x8-inch square (or similar capacity) baking pan and set aside.

In a small bowl, stir together flour, baking powder, cardamom and tangerine zest until combined. In a large bowl, cream butter and sugar together until light and fluffy; stir in eggs, rum and vanilla—the batter may look slightly curdled, but that's fine. Add the flour mixture all at once and stir until smooth.

Preheat oven to 350 degrees Fahrenheit.

Peel pears, cut off tops and bottoms, quarter, core, and cut into 1/2-inch chunks, adding them to the batter as you go. When done, carefully fold the pieces in, then pour and scrape the batter into your prepared pan. Bake for 50-60 minutes, or until a toothpick inserted in the middle of the cake comes out clean and the edges are a deep, crunchy golden-brown. Let cool; serve warm or at room temperate. If you have any leftover, let the cake cool completely, cover and refrigerate. Remove and let stand until the cake reaches room temperature again before serving—the flavors will be much more developed. This is a rich, sweet dessert, and a little unsweetened whipped cream or crème fraîche served alongside would be excellent.


Notes: A friend gave me a jar of vanilla sugar a few years ago, and I've been milking that vanilla bean for all it's worth ever since. I refill the jar with plain sugar while there is some vanilla sugar left in the bottom, then screw the lid back on and shake to distribute the vanilla-scented particles evenly. If you don't have vanilla sugar, you may certainly substitute regular granulated sugar for this recipe. The cardamom and zest are optional as well; any spices you like may be used (or omitted entirely), and the zest can just as easily be orange or clementine if you happen to have them. If you don't have or don't want to use the rum (or other spirit of your choice), simply leave it out. Your cake will likely be a bit more firm, but I'm sure just as delicious!


>o<

Sunday, January 17, 2016

It's Gran-Tastic!: Maple-Pecan Granola with Cranberries

The New Year is a time when people make resolutions and set goals for themselves, many of which are health-related. And no wonder, after a few months of decadence and indulgence! As you might guess, my definition of healthy includes making as much as possible at home, the better to know what goes into my food and where it was made and grown. Now, you know me, and I don't shrink from fat and calories, but I want to be sure my ingredients are the best quality I can find and afford, minimally processed and locally sourced if at all possible. This makes things healthier for me, my community, and the environment—the ultimate win-win-win!

All the same, sometimes you want your food to "feel" healthy, and granola is often what jumps to mind as you look for something to start your day. Thankfully, it's also wonderfully easy to make, with very few ingredients and some time in a slow oven. The best part? It simply tastes great, too :-)

Maple-Pecan Granola with Cranberries


Maple-Pecan Granola with Cranberries

Ingredients:
5 cups rolled oats (regular, "old-fashioned" oats)
1 cup chopped pecans
1 teaspoon ground cinnamon
1/2 teaspoon kosher salt
1/2 cup pure maple syrup
1/4 cup neutral-tasting oil (such as grapeseed or extra light olive oil)
1/2 cup dried cranberries

Preheat oven to 250 degrees Fahrenheit. Line a large baking sheet with foil or parchment paper and set aside.

In a large bowl, combine oats, pecans, cinnamon and salt, stirring until everything is fully combined. Measure out syrup and oil into the same measuring cup and pour all at once over the oat mixture. Stir again until all the oats and pecans are completely coated. Pour onto prepared sheet and spread the granola into an even layer. Bake for about 45 minutes to an hour, stirring gently every 10-15 minutes, until the granola is dried and toasty. Remove and let cool completely; mix in the cranberries and store in an airtight container. Serve as a cereal with milk, sprinkle over yogurt, eat out of hand as a snack, or (so much for healthy) enjoy with a bowl of ice cream ;-)

Notes: This recipe is adapted from Bob's Red Mill. My version is not super-sweet, but just enough so to satisfy. You can definitely use whatever nuts, spices, and dried fruits you would like to suit your taste—anything goes!


>o<

Friday, March 13, 2015

High Times

The first day of Spring is just a week away, and everyone has been waiting anxiously for it, myself included. But before I left Winter behind, I had a special trip on my list - and, for the first time last month, I visited The High Line:

high line new york city

The High Line, previously an abandoned rail line, has now been converted into a pedestrian concourse and public park. One of its key features is the integration of existing plants and grasses (the ones that had grown during the decades of the line's disuse) with new plantings of similar, native specimens that are also allowed to grow, bloom, and reseed themselves naturally. In addition, the designers created numerous spaces for people to explore, sit, and enjoy, with the original tracks still visible underneath it all:


As The High Line's excellent blog will tell you, one of the most striking plants there during Winter is, appropriately enough, winterberry. It's an easy-to-spot shrub with those distinctive red fruits that birds love:


Another brightly-colored specimen is the "Midwinter Fire" bloodtwig dogwood, able to display its fiery stems without any obscuring foliage this time of year:


Although much of the High Line is rather bleak during a Winter ramble, it's far from barren. In fact, many passages feel just like a Winter Wonderland:


I plan to return again in Spring, Summer and Fall this year, so I can enjoy the life cycle of this unique space throughout the seasons. It will be well worth the effort, and I'm really looking forward to it. So, until next time...


>o<

Friday, December 19, 2014

In The Bleak Midwinter: Planting Garlic

Traditionally, garlic is planted on the shortest day of the year, and harvested on the longest day. The idea is that the garlic will overwinter during the colder months, then start to sprout and grow as the ground warms up in the Spring. By Summer, the heads are full and ready to use, or to be cured and stored as needed.


garlic bulb


For those of us in the Northern Hemisphere, the Winter Solstice falls on December 21st this year. Once again, I will break the cloves apart from a lovely garlic head and push each one about 2 inches down into the dirt. In turn, each clove will (hopefully) produce a whole new head of garlic for me to enjoy. I realize that many gardeners and farmers plant their garlic a few months earlier, but I wanted to try it the old-fashioned way this time. And, if all goes well, I will have a very tasty update for you in about six months!!

>o<

Monday, December 08, 2014

Chestnuts Roasting: Chestnut-Chocolate Wafers

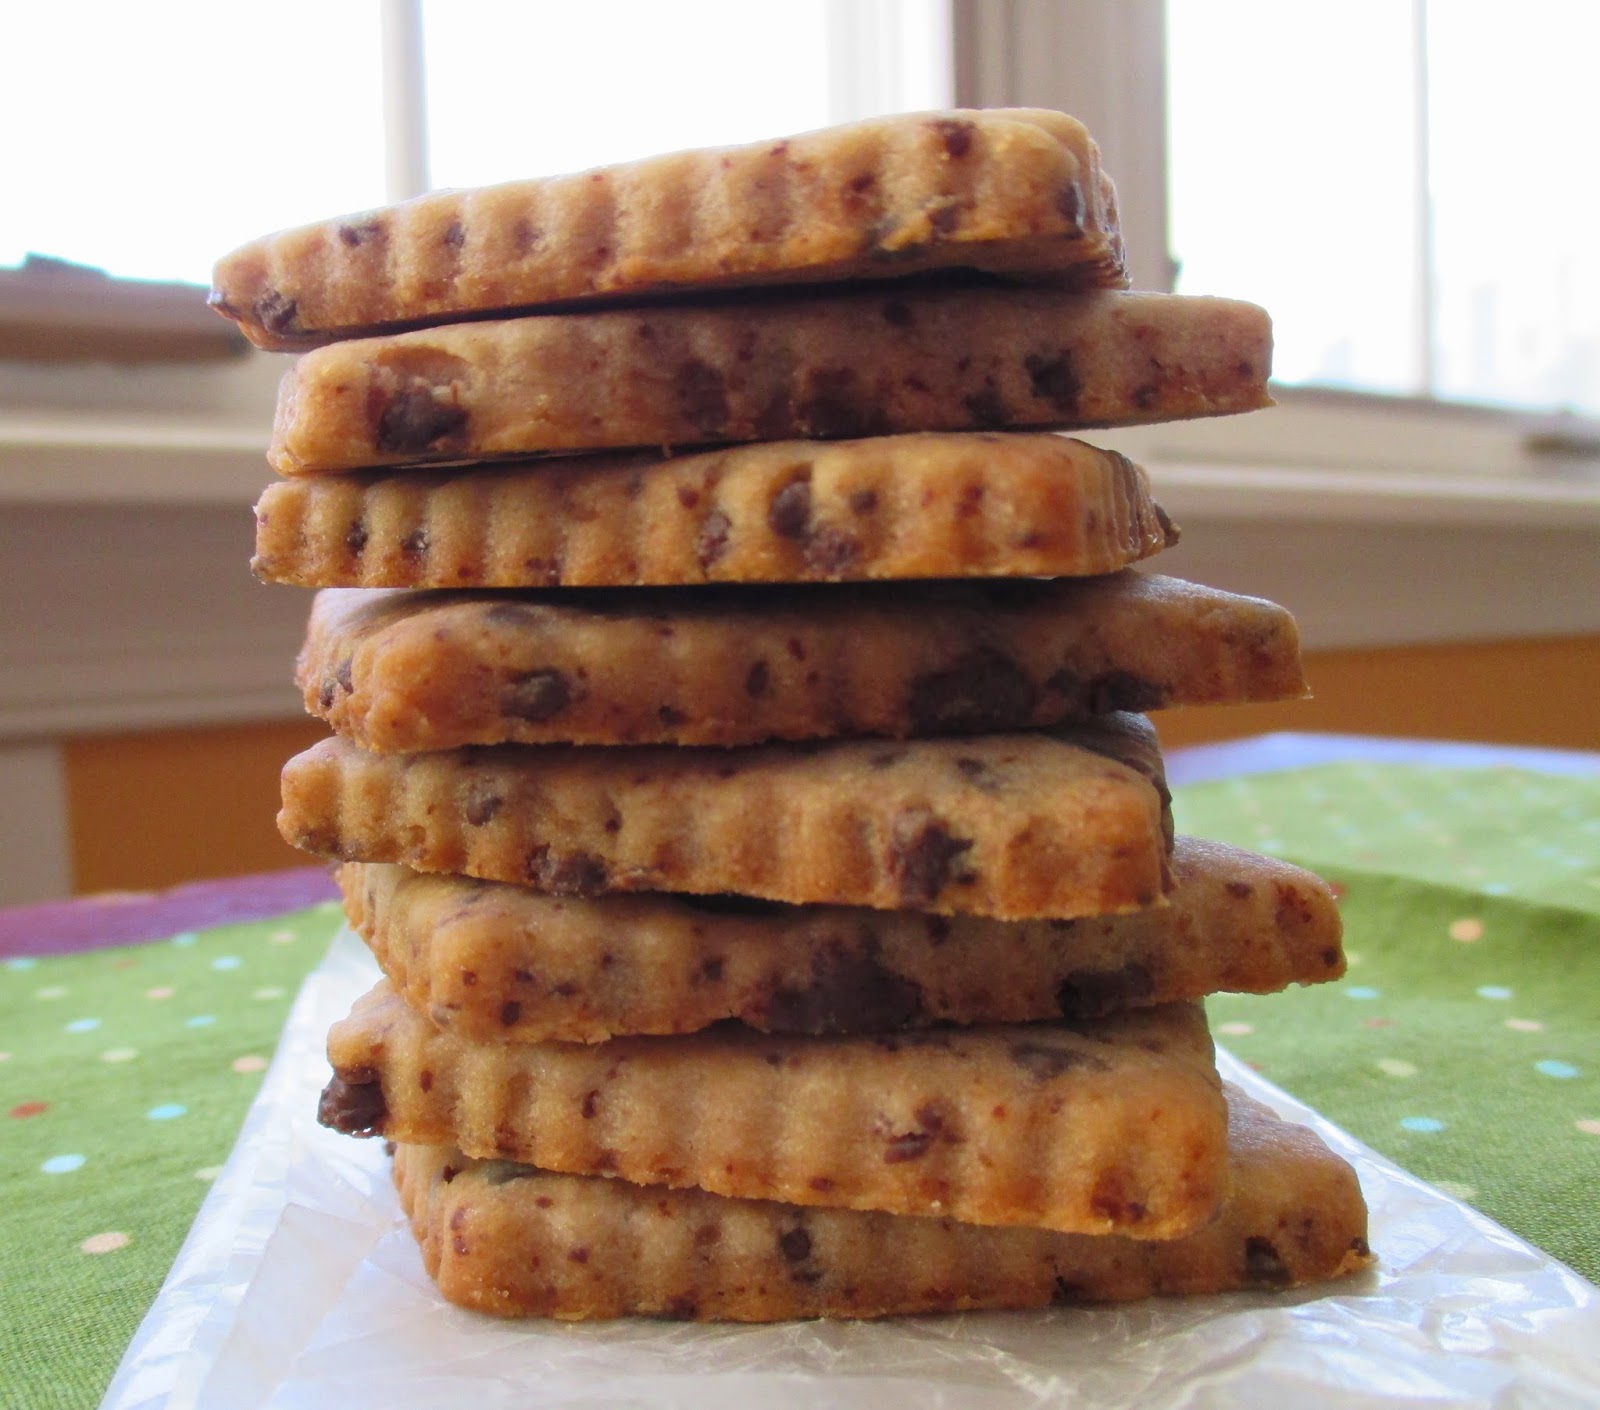
Chestnuts are a decadent addition to both sweet and savory dishes during the holidays, and they even work in cookies, too! Sweetened chestnut puree gives these buttery, flaky wafers all the sugar they need, and bittersweet chocolate provides a nice balance:

chestnut chocolate wafer cookies


Chestnut-Chocolate Wafers

Ingredients:
1 cup butter, softened
1/2 cup sweetened chestnut puree (creme de marrons)
1/4 teaspoon kosher salt
2 cups all-purpose flour
1/2 cup finely chopped bittersweet chocolate (about 4 oz.)

Preheat oven to 350 degrees Fahrenheit.

In a large bowl, cream butter and chestnut puree together until smooth, then stir in salt. Blend in flour, then add chopped chocolate and mix until combined. Divide the dough in half, flatten into discs and wrap tightly in plastic wrap. Chill for about 30 minutes, or until the dough is firm enough to work (but not chilled solid). Roll out dough on a floured surface to 1/4 inch thick and cut into shapes using 2-2 1/2 inch cutters. Re-roll scraps, dusting with flour as needed, and continue to cut shapes until the dough is gone. Place the wafers on lined baking sheets, prick them lightly with a fork a few times and chill 5-10 minutes, then bake for about 12 minutes, or until the wafers are evenly golden around the edges and along the bottoms. Remove and let wafers cool completely before storing in an airtight container.

Notes: Chestnut puree can be found in specialty food stores, purchased online, or made at home! If you prefer, use semi-sweet or milk chocolate in place of the bittersweet chocolate. You can also add a 1/2 teaspoon vanilla extract or a 1/4 teaspoon almond extract, if desired.

>o<